First of all, my apology to you guys for a very long absence into the blog realm. But above all, I feel quite happy from my return. For the past few weeks things are getting busier for the thesis and the approaching deadlines of papers and submissions and the household chores as well. Let me show to you a preview of what I am doing for almost every whole day for the past few weeks. And for those who still wait for new posts, and still following my blog, thank you very very much. And thank you for your patience as well!
As I told to you before, my thesis is about mechanical diorama with a theme based on a poplar historical play in the Philippines. I started the base made of hardwood.

As for the drawer, which is where the textual details of the diorama, I assembled it by myself, so that’s why it is not so carpenter-woodworker level of construction since recently I’m trying to study woodworking by myself with of course with the help of Papa.

Anyway, inside the drawer there’s a small door that leads to the portraits of the characters in the story. The characters, which are in bust form, are executed in acrylic on cardboard. It is quite small that I had a difficult time adding further details of the faces. But thanks to the Bunny’s very fine brush I borrowed last, last year somehow I managed to make it.
I made frames for the miniature portraits and later I will label them with their corresponding names. Here is the list of characters.
v Inangbayan (Mother country) symbolizing the Philippines
v Tagailog (River dweller) the hero of the story and Inangbayan’s son
v Haringbata (Child king) symbolizing the Chinese Empire
v Dahumpalay (Grass snake) symbolizing the native collaborators
v Dilatnabulag (Wide eyed blind) symbolizing Spain
v Matanglauin (Hawk eyed) the Spanish colonial government
v Halimau (Monster) the friars
v Asalhayop (Animal like) another collaborator to the enemies, also one of Tagailog’s sibling
v Bagongsibol (Newborn) symbolizing America
v Malaynatin (We don’t know) the American colonial government
v Masunirin (Obidient) and Ualangtutol (No object) are the loyal siblings of Tagailog
And yes, it’s a bit nationalistic drama which is sometimes required to the research.
***

Me and the Bunny also recently visited the annual Art Fair in our college. Though it is quite unfortunate that we don’t submit some works to sell, we toured ourselves the college and looked for some interesting works. And at the beginning of the fair a school Jazz band played. They are wonderful since that was the first time I personally saw a jazz band.

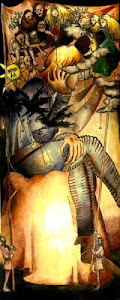
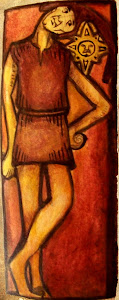
And I posted some of we found noticeable. Like this one made by our Printing class professor Abano.
And some of beatiful works that sadly I never saw their name. Like this small bust sculptures.
And this painting.
Well, I got to go; piles and piles of works are still waiting for me. See ya!


 Posts
Posts







 We saw this around 18th century painting of Christ in a dimly lit stone hall (so we need to picture it with flash). According to the Bunny, grotesque paintings like these were made by the natives who had only slight idea about what Christ might look like, as well as the Romans and their costumes. And they only rely on printed book from Europe.

 Spending time appreciating the beauty of the trees and green fields.
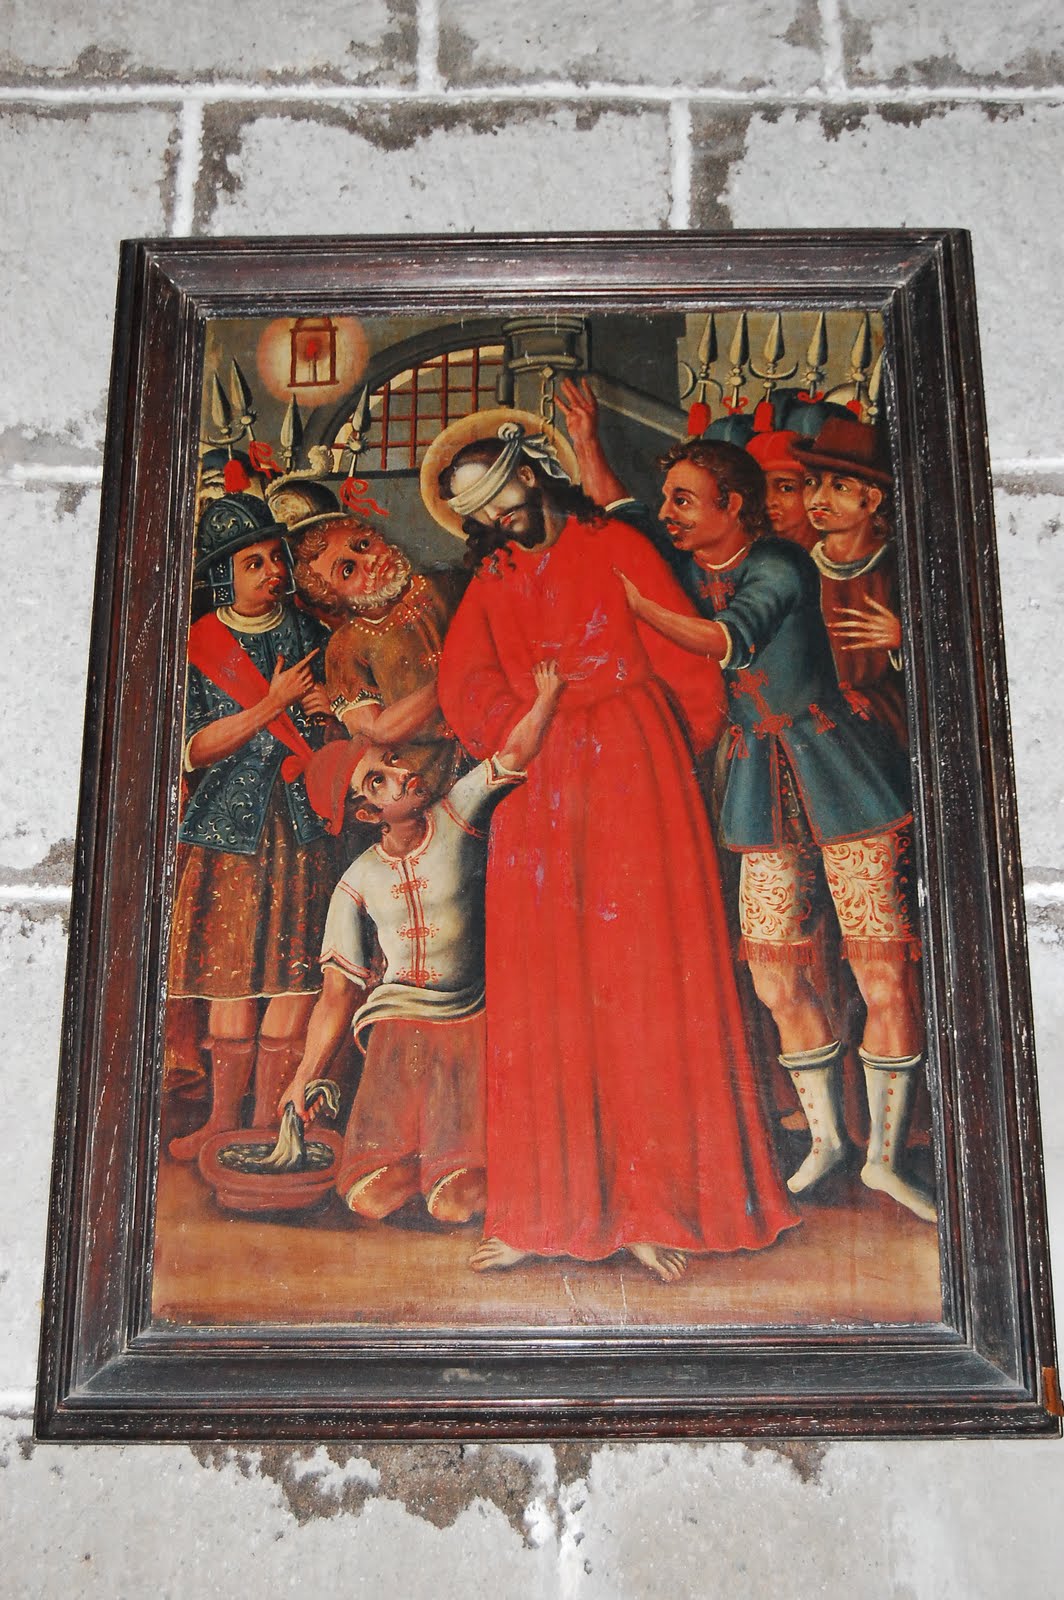 We saw this around 18th century painting of Christ in a dimly lit stone hall (so we need to picture it with flash). According to the Bunny, grotesque paintings like these were made by the natives who had only slight idea about what Christ might look like, as well as the Romans and their costumes. And they only rely on printed book from Europe.

 Spending time appreciating the beauty of the trees and green fields.


